Inventor
Inventor is a CAD (computer aided design) program, It is capable of creating parts and even whole engines. Inventor lets you create 2-dimensional drawings, and once you finish your first drawing you can extrude them into full 3-dimensional designs. you can also create assemblies, animations, and more. In inventor you can create an assembly and combine multiple parts together to create increasingly complex designs, you can also translate your sketches into a blueprint like design or even into an animation so that you can test the functions of your design before you finalize it. overall inventor is a very useful 3-dimensional design software that is useful in creating whatever you can think of.
Inventor Widget Project: The First Steps
The First step towards 3d printing my widget was doing some practice sketches, I made 6 total sketches and the one on the left is part of those six sketches. We sketched not only for practice but so we would have images and dimensions to reference when we were actually designing our widgets on inventor. After I finished all six I headed to inventor to begin designing. |
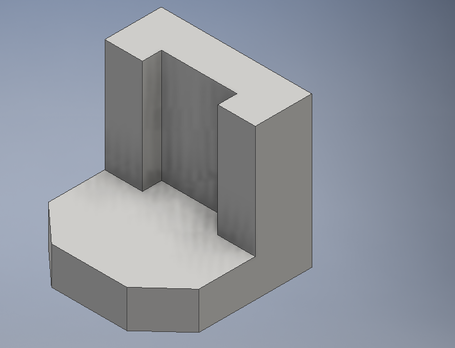
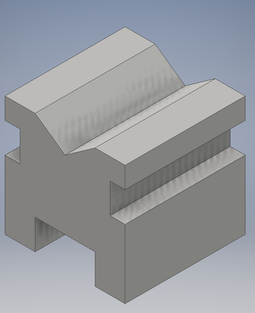
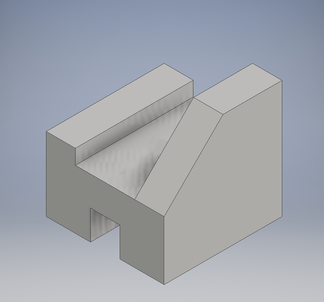
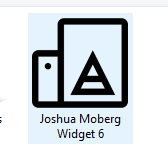
Widget number six, the recipe:
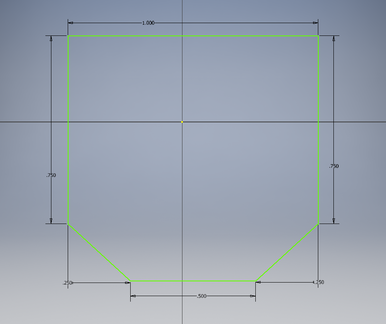
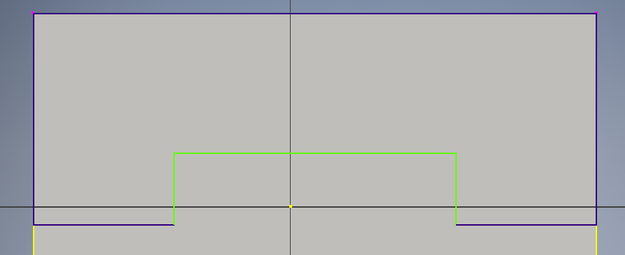
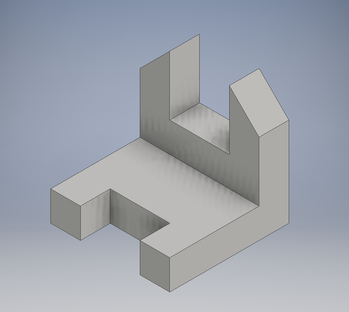
The first step in creating widget number 6 was to make a sketch of the base on inventor. This creates a base for the rest of the widget to be built up from.
The Next step was to finalize the dimensions and extrude the original sketch into the full blown base. This is important because it creates a strong base for the top half of the widget to be built on.
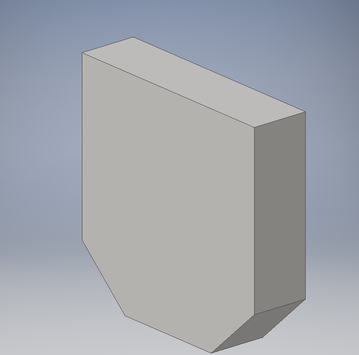
The third step was to make a 2-dimensional sketch of the top half of the widget. This is important because it will lead to the final extrusion of the widget. Also I created this by making a rough sketch of what it should look like and I then fixed up the dimensions and extruded it. I used this same strategy for the original sketch.
The fourth step in creating this widget was to extrude my second sketch. I had to make sure to dimension the height and width correctly as well so that it was able to print correctly.
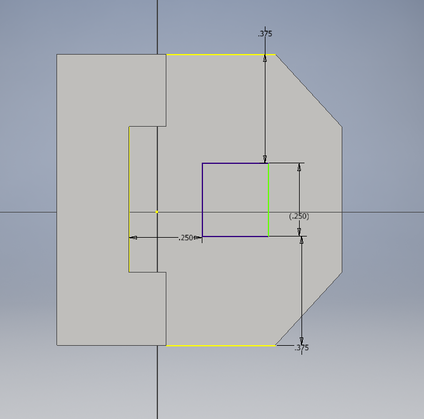
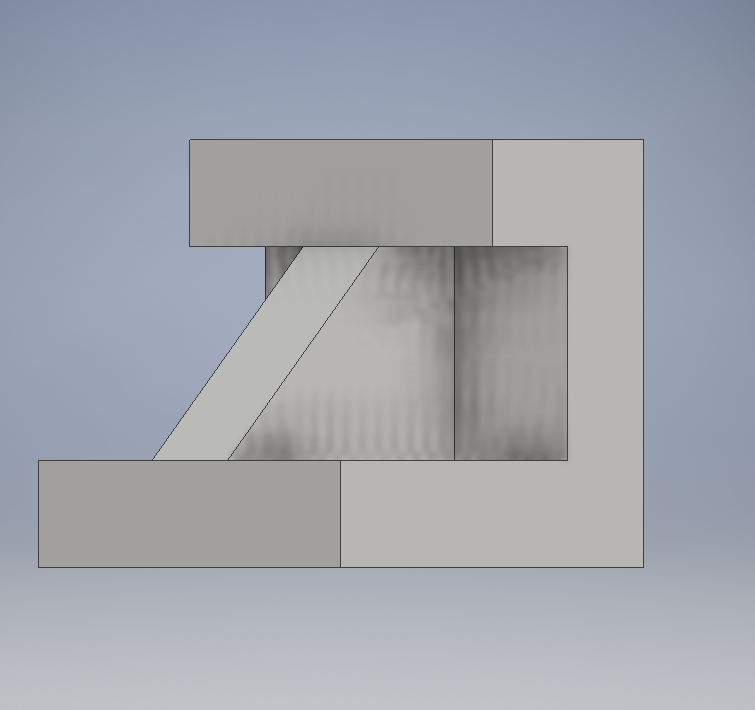
The Fifth step in creating this widget was to do a final 2-dimensional sketch for the box that was cut out of the base of the widget. Getting the dimensions correct on this one was very important because if the dimensions were off than the whole print would be off as well.

The final step in creating this widget was to extrude the drawing out of the total widget so that there was a cut out square remaining. Now widget number 6 is fully completed and ready to get printed.
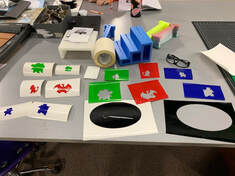
The other five finished widgets:
|
|
|
|
|
Setting up my Print:
|
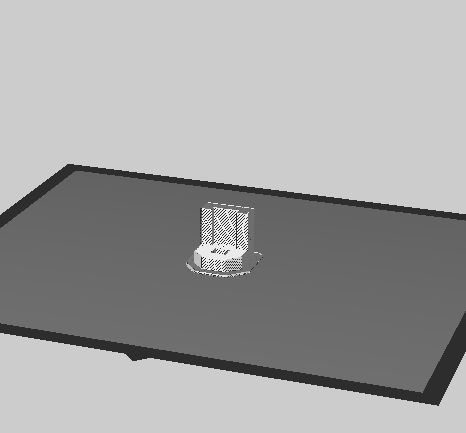
I first translated the file into an STL file so that it could be used with the maker bot software. (picture of file is to the right).
|
|
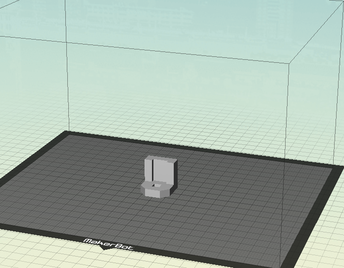
I them set the scale to 1000% so it was the correct size and I oriented it correctly so that it was ready to print.
Lastly I previewed it to make sure it would print well, downloaded it to a flash drive, and then I started to print it on the 3-dimensional printer.
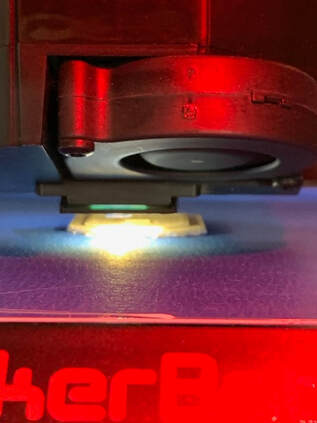
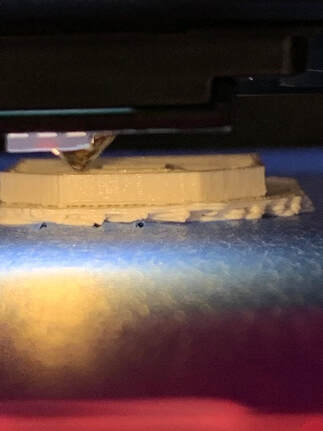
The Print in Progress:
|
|
What Did I Learn:
While working in inventor I learned all about how to design different shapes, add parts on, extrude parts off, and I learned how to become more proficient with the inventor software. I also learned how precise you really have to be when designing things to print, because if you even mess up one dimension than the whole print can be screwed up. Lastly, I learned how to use the maker bot software and I figured out how to bring files over from inventor onto the maker bot software. I learned a lot while working with these new programs and feel good about the new level of proficiency I have in each.
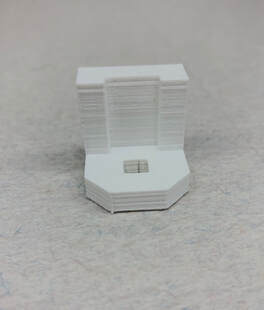
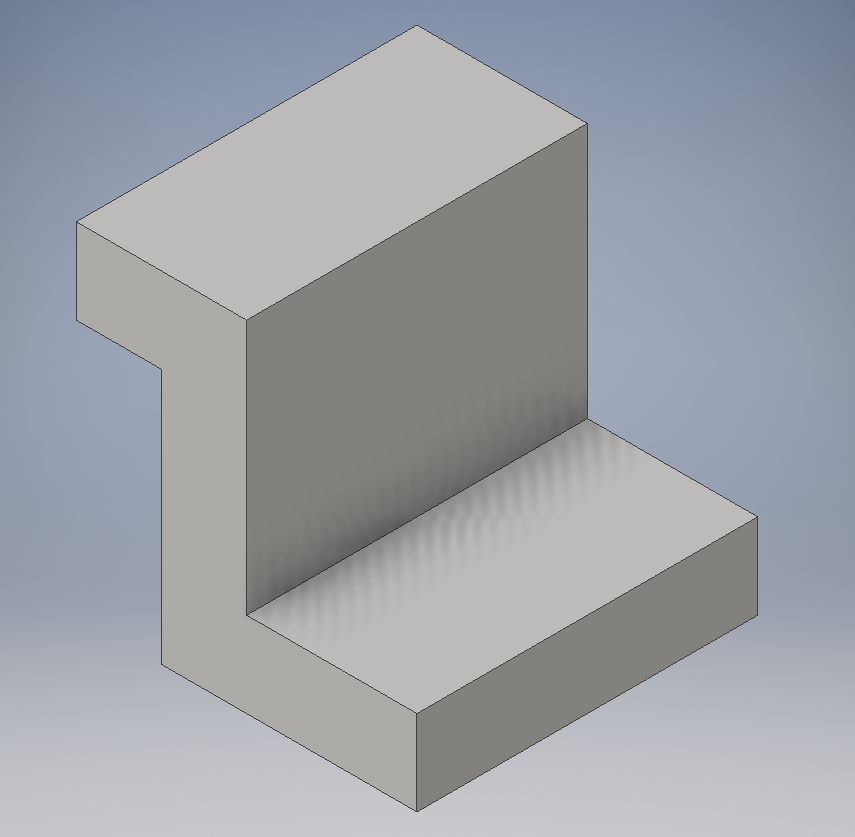
The finished product: