The Projects:
In this rotation we were assigned 3 projects to make, a notebook with 20 pieces of paper with a front and back cover that we designed, a water bottle with an engraved design, and a 3-dimensional object of our choice.
The Notebook: Coming up With Ideas
When coming up with Ideas for the notebook I first picked a category for what I wanted, the category I chose was dragon ball z. I scoured the internet for pictures and eventually found the perfect ones. After inputting them into illustrator and double checking my design and the measurements I saved it and headed down the the laser to start cutting it out.
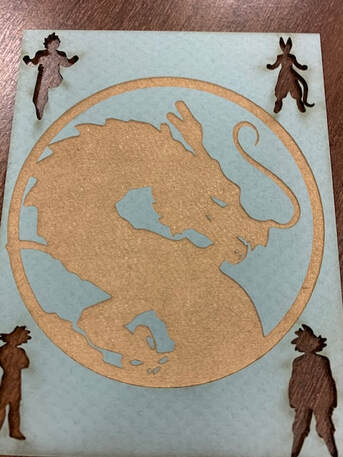
Front Cover Design: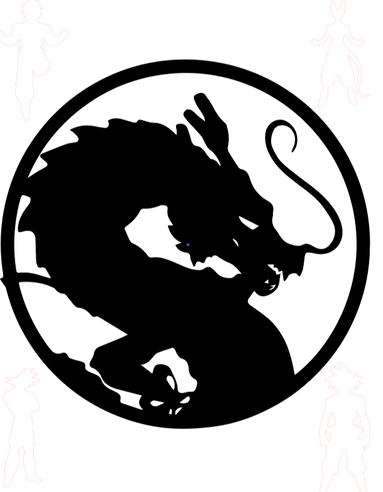
|
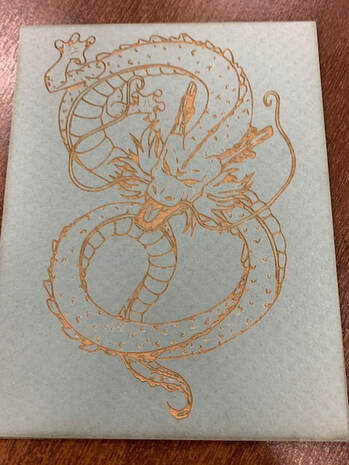
Back Cover Design: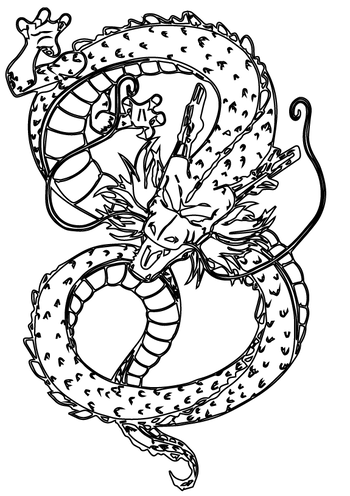
|
Using the Laser for my Notebook:
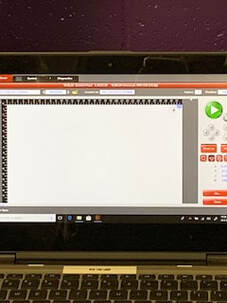
After I finished designing my note book I got right into using the machinery to cut and engrave both the front and back covers. The black lines tell the laser to engrave while the red lines tell the laser to cut. After I double checked my colors, line width, and design I headed down to the machine and began to set up my cut. We were using mat board and so I made sure to set the material to that on the program. After that I used the caliper to measure the thickness and inputted it onto the program, Then I moved over to the UCP software and moved my material into the correct spot on the laser. Then I was finally ready to start, I hit play and watched as my notebook cover came into existence. After it finished, I took it out of the machine and began to get ready to turn it into an actual notebook.
Front cover (Cut Out) |
Back Cover (Cut Out) |
|
|
Putting Together The Notebook:
After I cut out the front and back covers for the laser I had to put it all together, to do this I first punched holes along the top of the front an back cover. After that I cut out 20 pages to put in the notebook and cut holes in the paper as well. After I cut holes in both the paper and the notebook covers I used a spiral to attach the notebook and the pages together. Overall I think the notebook looks awesome and I am very proud of what I created.
Fully Finished Notebook:
Front: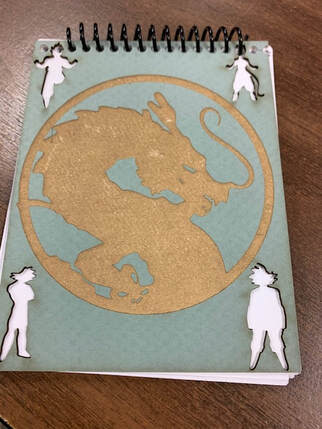
|
Back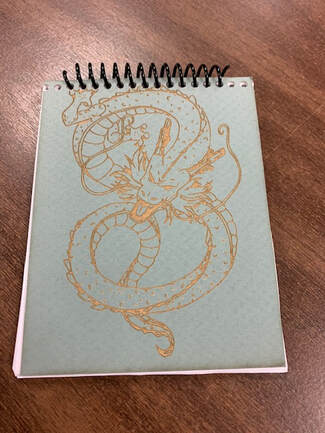
|
The Water bottle: Coming up With Ideas:
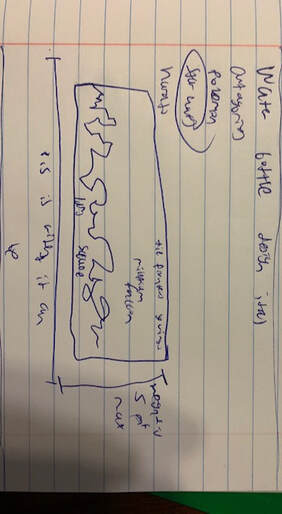
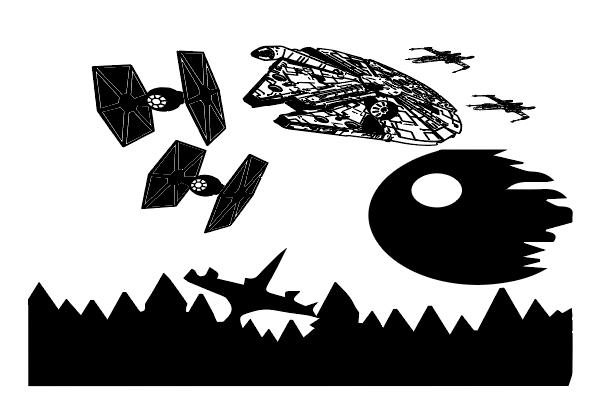
After I Finished the notebook it was time to begin working on a design for my laser engraved water bottle. I soon came up with a theme: Star Wars, and searched the internet for the pictures that I wanted. I used many pictures and combined them together to create the final look on illustrator. Then I tuned 90 degrees clockwise and sized it correctly so that it would work with the rotational jig that we would be using. After I finished with my design I headed down to the laser to begin my setting up the laser.
Illustrator Design:
Using the Laser for my Water Bottle:
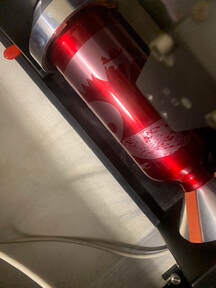
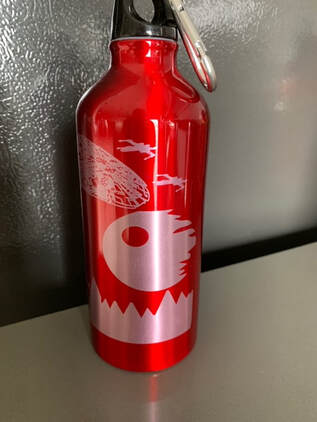
After I finalized my design I headed down to the laser to attach the rotational jig and to set up my settings. I changed the settings in to match the material I was using and I set the speed and power correctly so that it would engrave my design. After this I attached my water bottle to the rotational jig, then lined up the laser with the water bottle and hit play. It was a successful engrave and I was very happy with my results.
The Finished Product:
Coming Up With Ideas for my 3-dimensional object:
After Completing the water bottle project it was time to come up with Ideas for my laser cut 3-dimensional object. I looked through thingiverse and saw something that really caught my eye. It was the companion cube from one of my favorite games, portal. I downloaded the files opened it in illustrator and saw that I had a problem. My wood was going to be to thick for the project. So, doubled the size of the file so that my wood would now be the correct thickness. After that I made sure my lines were the right color and headed down to the laser to start engraving.
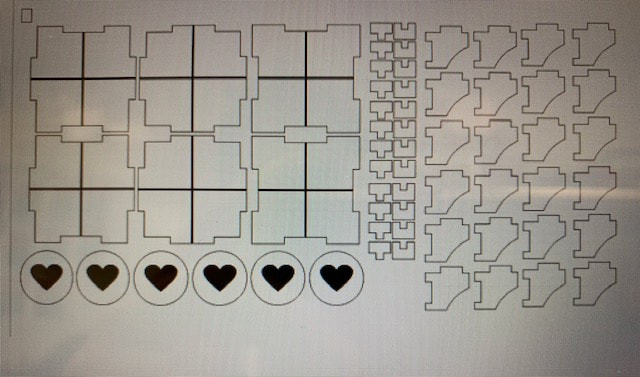
Illustrator file:
Using The Laser:
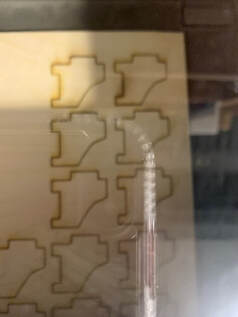
After I finalized the design in illustrator I headed down to the laser to change the settings and start cutting out the pieces to my 3-dimensional object. I was using wood so I made sure to change the settings accordingly. After that I opened the lasers UCP software, made sure my wood was large enough, and I began to start the cut.
What Did I Learn:
During this rotation I learned much more about using illustrator and I learned a lot about using the laser and the software that goes along with it. I learned how to be more efficient in using the laser, and I learned how to use the UCP program much better. I also learned how to use illustrator much better throughout this rotation. I learned how to resize things to fit my parameters and I learned how to become even more efficient when using inventor. Overall I am very proud of the three Projects I made and I'm really excited for the next rotation.
