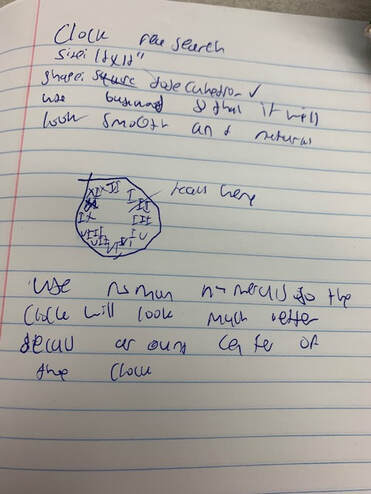
Coming Up With The Idea:
When designing this clock I went through many iterations of ideas, first I was going to to a circle with numbers, than a hexagon with 4 numbers but finally I settled on a dodecahedron with all twelve roman numerals. I also needed to figure out what I wanted on the clock so it wasn't so boring and I ended up planning to create vinyl decals for the clock face to spice things up a bit. lastly I decide to router the clock out of wood so it would look nicer than just using mat board.
Designer notebook presearch
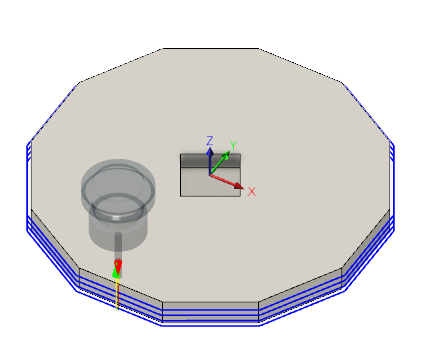
Making the Clock in Inventor :
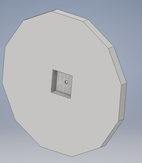
After I came up with my idea the first step was to create my clock in illustrator to the correct dimensions so that I had the ability to use fusion and the router. I made the dodecahedron with the polygon tool and dimensioned it to the correct proportions on all sides, after that I was ready to put the file into fusion and start working on my tool paths.
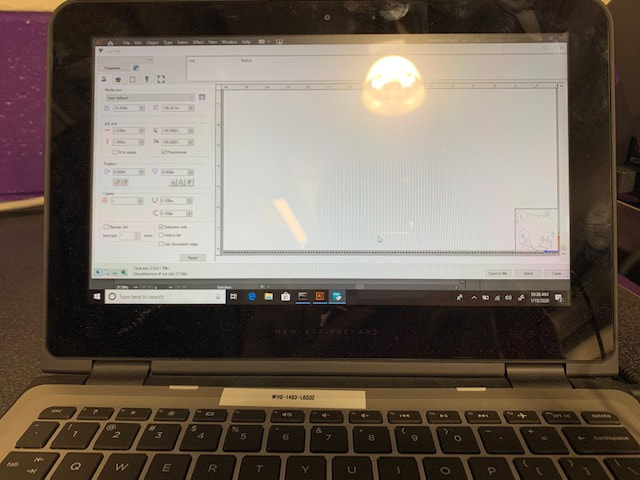
Using Fusion:
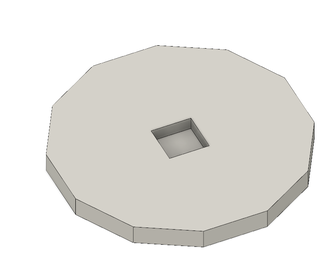
After finishing up in inventor I headed into fusion to work on my settings and tool paths for the router. I first created a new setup and edited my stock box and axes so that they were all correct and then worked on my tool paths. I used 2D contour and adaptive clearing so that the middle and outside would be cut. finally I just needed to buy my wood and I would be ready to use the router.
Tool Paths:
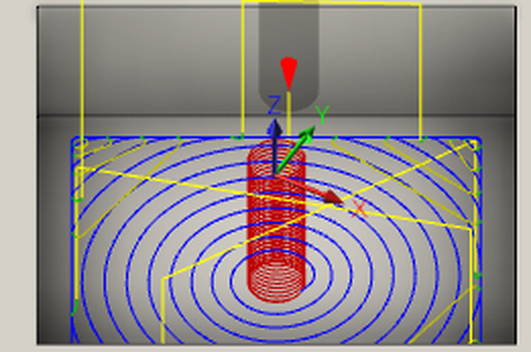
|
|
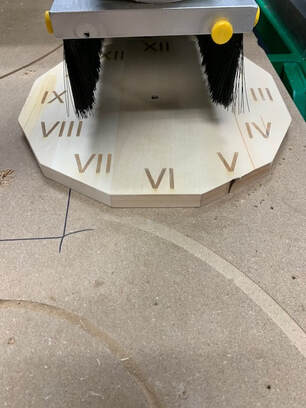
Using the Router:
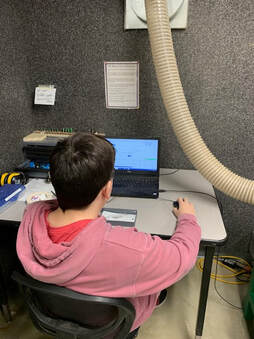
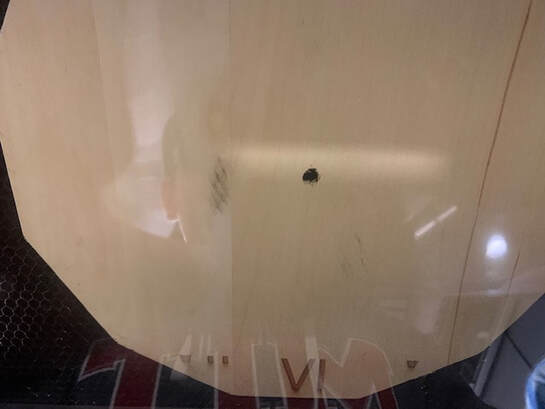
After finishing in fusion I downloaded my G-Code to a flash drive and headed down to the router to start working. First I loaded my G-Code onto the computer to make sure it was correct and then I clamped down my wood with the help of Ms. Proctor and I began to watch my clock cut out. after five minutes or so the router finished and we were able to remove the clamps and take out the clock. It all looked good except for the fact that the hole was too small for the mechanism to fit. So, I repeated all of the things again and re cut out the mechanism hole for the clock. This time it was all perfect and my clock was ready for the next stage of development.
Router Working:
Using Illustrator for Vinyl and Numbers designs
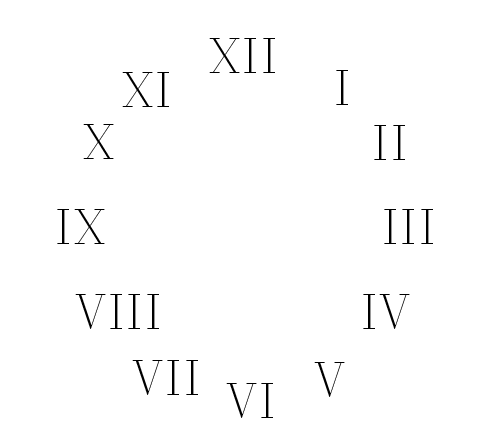
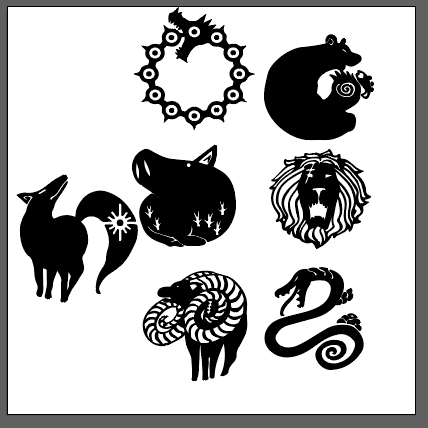
After I cut my clock out I needed to make my number and vinyl designs in illustrator. So first I did my vinyl and found a few cool pictures on the internet that I wanted to use, then I imported them into inventor and made sure to ignore white and fix all other settings. My vinyl decals were ready to be cut out. Next I did the numbers on the clock by just writing in the roman numerals and when I finished with that I was ready to use the laser as well.
Numbers Design: |
Vinyl Design:
|
|
|
Using the Laser:
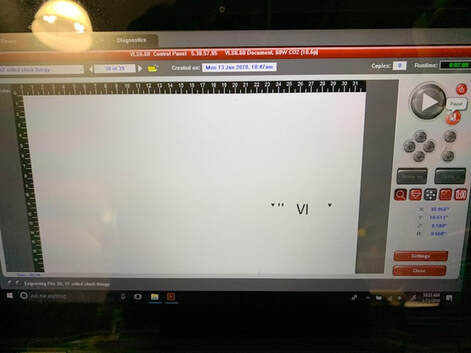
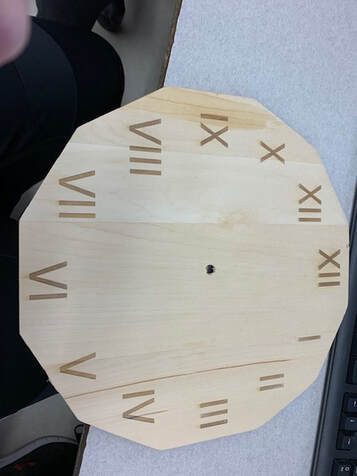
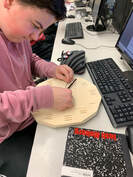
As I had already cut out my clock and finished designing my illustrator file I was ready to laser engrave the numbers onto my clock. I headed down to the laser and opened up my illustrator file. I adjusted my settings to the type of wood that I was using and I then opened up the UCP laser software. I lined up all of the places correctly and I then started to laser engrave my clock. It went very well until the end when instead of cutting out an eleven and twelve the laser cut out 2 twelves. so, sadly, I need to use wood filler to fill in the extra I of my 11. But overall i'm super happy with how the laser engraving went.
Clock After getting engraved: |
Laser working: |
|
|
Using the Vinyl Cutter:
Because I already had my file ready using the vinyl cutter was very easy. I first downloaded my file onto my flash drive and then I headed down to the vinyl cutter to start cutting out my vinyl. I loaded the black vinyl and the opened up my file in the vinyl cutters software. After that was done I had the machine measure how much vinyl room I had. then I cut out all of my vinyl decals and had used all three of my machines.
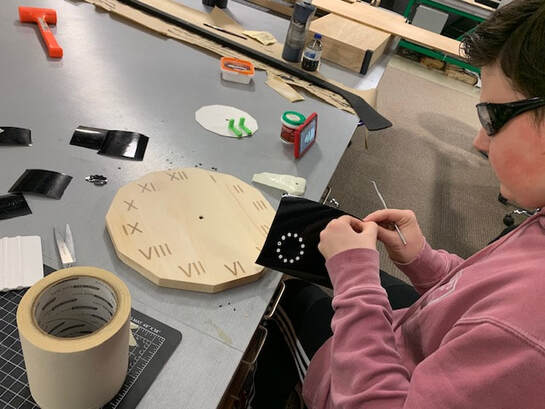
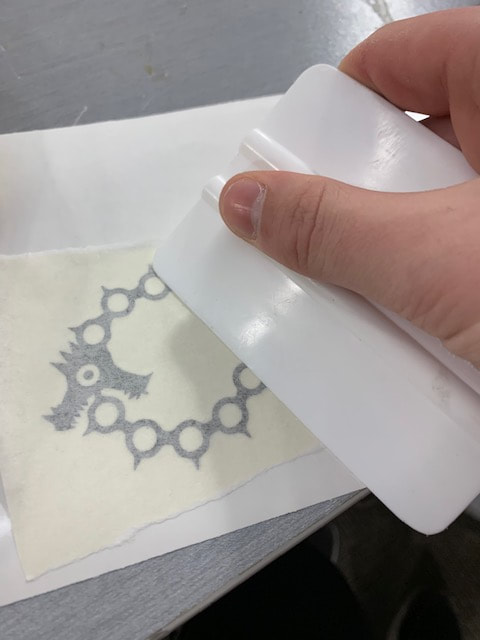
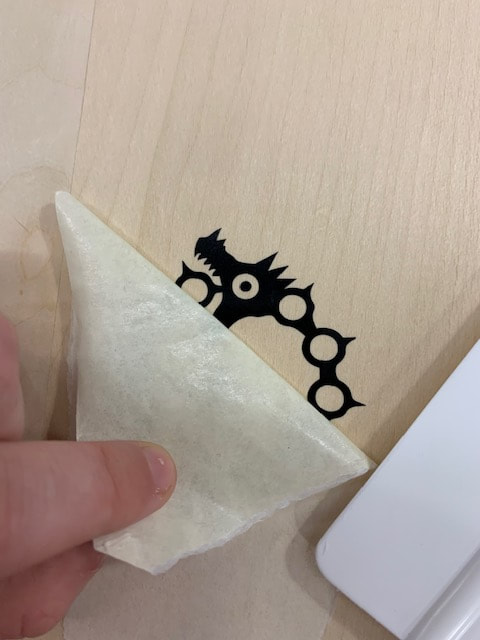
Applying the Vinyl:
After cutting out my vinyl decals I began to choose which decals I wanted where. After that had been decided I weeded all of the unnecessary vinyl out and then got the vinyl onto the transfer tape. After that I pasted the vinyl onto the section where i wanted to go and pressed down hard to get it correctly applied. Then I made sure to pull of the tape at a diagonal angle and all the decals were finally applied.
Pictures of Applying the Vinyl:
|
|
Machining the Clock
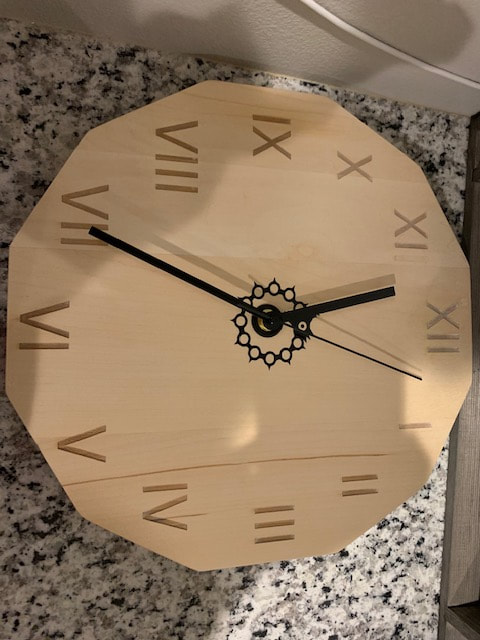
After I finished using all three of my machines I got the clock mechanism from Ms. Proctor and followed the easy instructions to put the clock together, When I finished putting all of my parts together I slid it into my cut slot in the back and my clock was all finished; it only needed a battery! I'm super happy with how it turned out in the end.
The Final Project
What Did I Learn
I learned a whole lot throughout the creation of my final project. I learned how to use new tools like a palm sander and I learned how to become better and more efficient when using the machines and programs that I have only used a few times before. I also learned how to become better at a very important skill, Managing my time. This is a really good thing that I learned because it will help me get things done on time and faster than I used to be able to finish them. I made many mistakes while doing my clock but all those mistakes just helped me learn and grow as a person. Overall I am very proud of what I made and had a great time making it as well.
