Illustrator:
Illustrator is an adobe graphic editing software. Illustrator can be used to prepare files for the laser cutter, for the vinyl machine, and more. It allows you to create 2-dimensional sketches and designs for a variety of machines. You can even customize what you want to be cut out and what you want to be engraved. you can even import pictures from outside sources to create the design that you wanted. Overall inventor is fun to use and easy to learn and is useful in a variety of situations.
Laser Cutter Key-chain recipe:
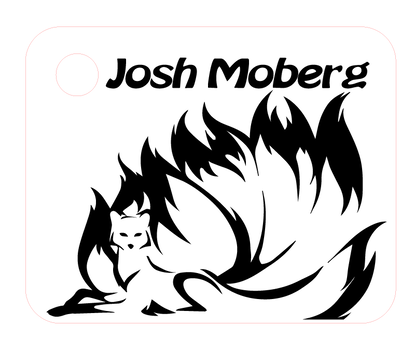
The First step in creating a key-chain in inventor is to design your key-chain. You have to make sure that your lines are the correct colors so that the laser will know what to cut and what to engrave. Red lines are to cut and grey and black lines are to engrave. Then you download your file onto your flash drive and head of to the laser cutter to finalize settings.
The second step in creating your laser is to get the settings correct on the laser cutter itself. You first set your material to whichever one you are using, next you have to measure the thickness of the material that you are using so that the laser knows how deep to cut and how deep to engrave your various items. After that you need to align the laser with one of the corners of whatever you are engraving. (I chose top right). This is so the laser knows where and what it is engraving and cutting.
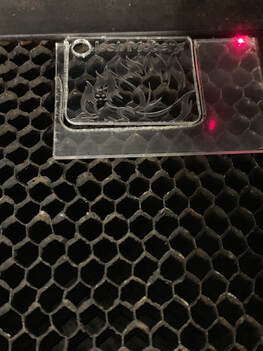
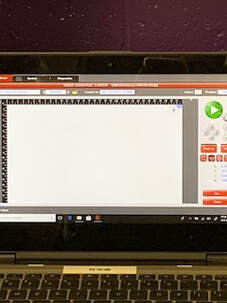
next you put your material into the machine, line it up with where the laser is going to start cutting, and then you make sure the exhaust fan is on. Finally, you hit the big green play button on the computer and watch your creation come into existence. The laser takes very little time to cut and engrave things and is a very useful tool that I will definitely use in the future.
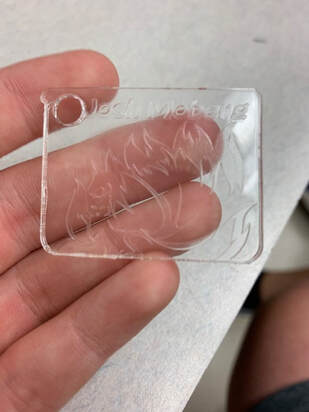
Finished Product:
Creating and Applying Vinyl Decals

The first step in creating a vinyl decal is creating a file in illustrator so that the cutter knows what to cut out. You can create any 2 dimensional thing that you want as long as you make sure to use blue as the outline for whatever you make as is shown in the picture to the left, this is so that the vinyl cutter knows what you what it to cut out. Then you transfer your illustrator file onto a flash drive and take it to the cutter to finalize your settings.
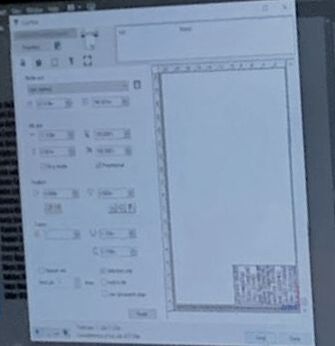
The Next step in creating the vinyl decal is to put your file onto the vinyl program. You need to make sure that your decal is small enough to fit on the vinyl or the whole thing will be messed up. To do this you use the ruler in the program to see how large your whole thing is going to be, then you match that up and make sure the amount of vinyl you are using will be enough. Lastly you put the vinyl into the machine and then the cutting can begin.
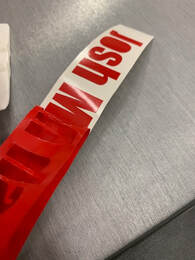
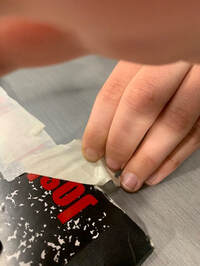
After your vinyl decal is complete you need to apply it, The first step in applying your decal is peeling of the excess vinyl. This is an important step as it reveals your vinyl and will give you a preview of what it will look like after you apply it.
Once you fully peel off the top layer of vinyl you will need to remove any vinyl left on the insides of letters or shapes. For example my O letters had the middles filled in. So, using dental tools you peel them away from your full design.
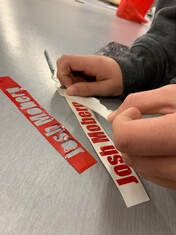
After you peel out all the things from the insides of your letters and shapes we need to apply the vinyl decal to the transfer tape. This is a very important step to get correct because if you do not apply it to the transfer tape well than your design may be messed up and you may even have to re cut your vinyl all over again. When you are applying the transfer tape make sure to push down the decal hard onto the tape so that you do not lose any shapes or key parts of your design.
After you apply your decal to the transfer tape you can finally apply your decal onto whatever you want. When applying your decal it is very important to remember not to peel it straight across, you want to peel at an angle so that the decal goes on nicely and so that you do not lose any key parts of your design. Finally, before you apply your decal make sure you line it up straight onto what you are applying it on. This is important because if you forget to do this your design could end up diagonal or skewed.
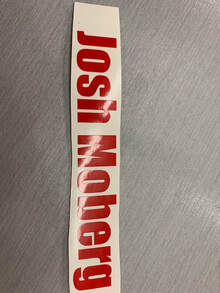
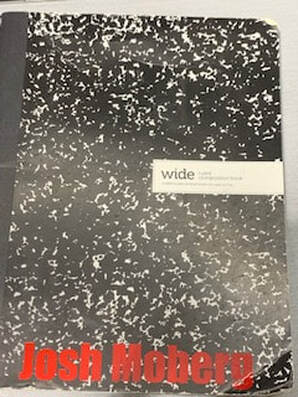
The finished product:
What I learned
In this brief intro to illustrator I learned many important things that let me create awesome designs and let me become better and more efficient while using the illustrator program. I learned that this program is a lot more useful than I thought it would be, I thought illustrator would be pretty basic and would only give you some basic design options. But, what I discovered was that inventor is a very complex and versatile program that lets you design awesome things for the laser cutter and the vinyl cutter. Also I learned how to color lines correctly and learned how to design things correctly so that I can speak to the laser and vinyl cutter machines. I had lots of fun learning how to use the illustrator program and learning how to efficiently design many different projects.
