Coming Up With The Idea:
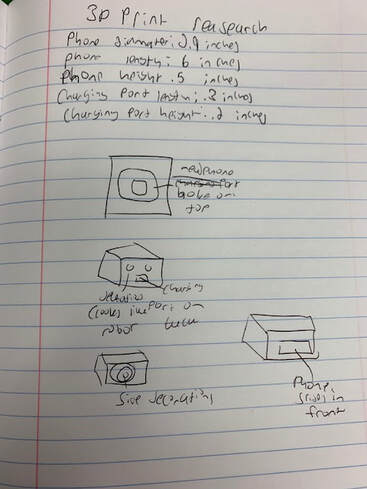
In this rotation we had a choice between a variety of different objects, we could choose to create a phone holder, a pencil holder, a toothbrush holder, or a coin organizer. I chose the phone holder and then began to start measure out the objects I wanted to put in the phone holder. I measured the length, width, and height of my phone with the case on and After that I headed into inventor and began designing my project.
Designing my Project in Inventor:
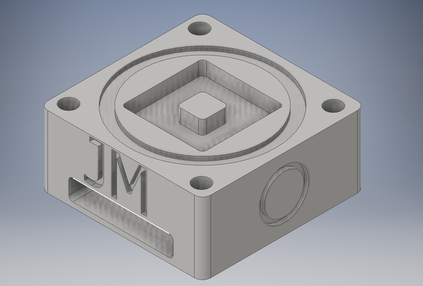
After collecting all of my measurements I headed into inventor and began designing my project. I first got a 5' by 5' by 5' cube because that was the maximum distance our phone holder could go in any direction. After that I used my measurements to cut holes in the front bottom of the cube where my phone could slide in. I the cut hole in the back so the charger could fit through. After that I cut a bit of the five inches of the top so it wasn't so large and then I added some decorations around the sides so it looked nicer. I also filleted the sharp edges of the phone holder so that the whole of the design was much smoother. After This was all finished I transferred the file into an STL file so that I could put it into the 3-d printing software and then moved on to fixing my settings and printing.
Setting up my Files:
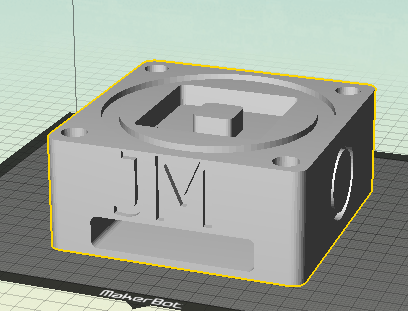
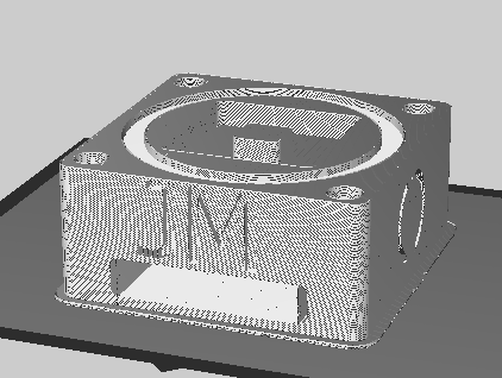
After transferring my inventor file into an STL file I headed into maker bot to begin setting up my print. I First set the scale to 1000 percent to make sure it was large enough to actually fit my phone, after that I lay it down flat and enabled supports so that the print would go well. Next I double checked all of my important settings and I previewed the print so that I could figure out how long it would take to print and to see how it would look. After that I downloaded the prepared file onto a flash drive and headed down to the printers to start printing.
Print Preview:
Using the 3D Printer:
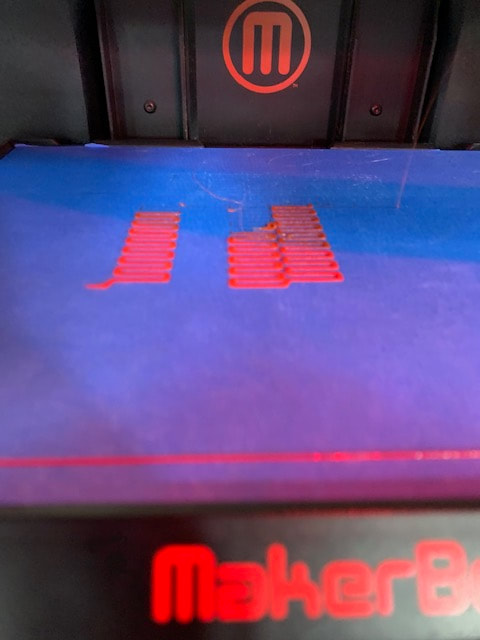
After getting my file downloaded onto the flash drive I headed down to one of the 3D printers to start my print. I picked the color red then plugged my flash drive in and started to set up the print. All I had to do was select my print file as I already had it ready from the maker bot software, after that I hit start and began my print. In just 16 hours my phone holder would be done. To the right is the in progress print just after it had started.
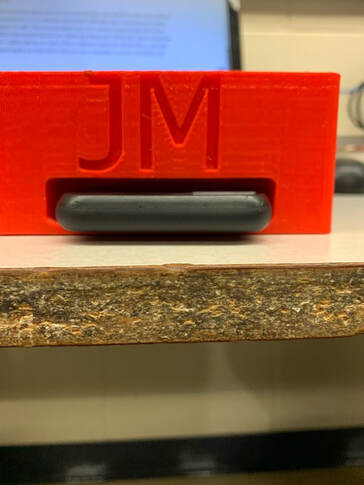
The Final Product:
What Did I Learn:
During this rotation I learned many things about how to use inventor and about the maker bot software. During this rotation I learned how to use inventor much more efficiently and I learned how to design cool objects inventor faster as well. I also learned about many new inventor features like how to use fillet. During this rotation I also learned how to use maker bot much more efficiently. This is important and useful because now I will be able to use both of these software's faster by myself when I am using them. Overall this rotation taught me a lot about using inventor and maker bot and i am happy with what I learned.
